|
|
|
Monechron User Manual
General Features
|
|
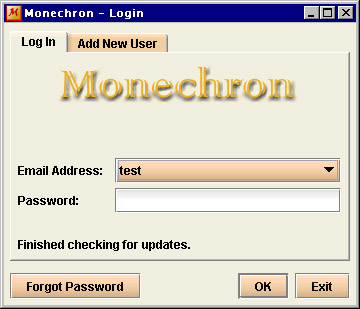
As a new user,
you need to enter the same email address and password you used
to register. (If you haven't yet registered, click on
New Account.)
The
first time you log on, you need to be connected to the
Internet.
If
you forget your password, click on Forgot Password to retrieve
it. |
The next screen should
look like this 
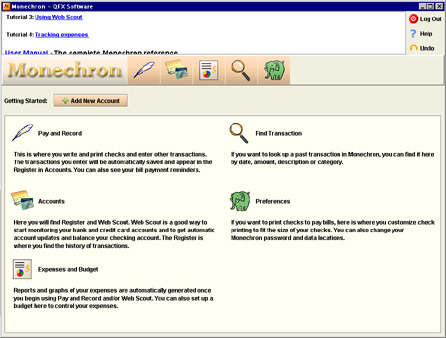
The Welcome page
provides a brief overview of the functions of the five icons so you
know where to go. Next, click on Add New Account.
The Add New Account
screen should look like this
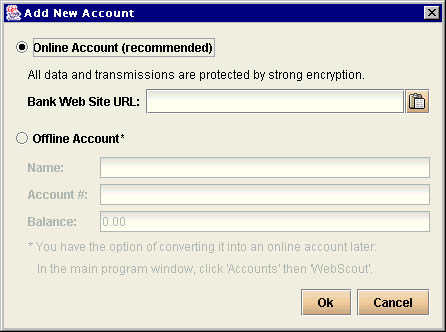
Link your Monechron
to an online or offline bank account you're currently using. If you
have an online account, enter your bank's web address (for example,
www.prosperitybank.com) to enable Web Scout™.
(If you've copied your bank's web address, click on the paste icon
and then click OK.)
We recommend that you
use an online account from the very beginning so you can get the
maximum benefit of our unique financial browser Web Scout™.
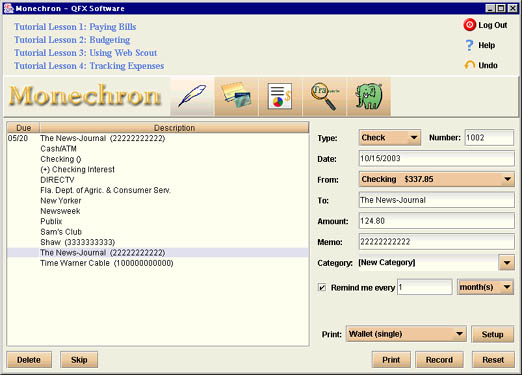
After you log in, you
will see five icons that represent Monechron's
major features
-
 The
Pay & Record icon is the first (default)
screen. This is where you write and print checks and enter other
transactions (see also Tutorial Lesson
1). The
Pay & Record icon is the first (default)
screen. This is where you write and print checks and enter other
transactions (see also Tutorial Lesson
1).
-
 The
Accounts icon includes the register and Web
Scout™. The register is where all your
transactions are recorded and saved. Web Scout™ is
the browser that navigates your banks' websites, copies your
transactions and balances through the bank and reconciles with
your Monechron register to give you your
realtime balance (see also Tutorial Lesson
3). The
Accounts icon includes the register and Web
Scout™. The register is where all your
transactions are recorded and saved. Web Scout™ is
the browser that navigates your banks' websites, copies your
transactions and balances through the bank and reconciles with
your Monechron register to give you your
realtime balance (see also Tutorial Lesson
3).
-
 The
Expenses icon includes budgeting and tracking expenses.
You can track your expenses and, if you wish, make a
weekly/monthly/annual budget (see also Tutorial Lesson
2: Budgeting and Lesson
4: Tracking expenses). The
Expenses icon includes budgeting and tracking expenses.
You can track your expenses and, if you wish, make a
weekly/monthly/annual budget (see also Tutorial Lesson
2: Budgeting and Lesson
4: Tracking expenses).
-
 The
Find icon is where you look up a past transaction. The
Find icon is where you look up a past transaction.
-
 The
Preferences icon includes functions such as
printing setup, password change and data relocation (see also
Tutorial Lesson
1.2: Printing your first check). The
Preferences icon includes functions such as
printing setup, password change and data relocation (see also
Tutorial Lesson
1.2: Printing your first check).
III.
The three small icons
In the upper right
corner are three smaller icons: Log Out, Help,
and Undo.
-
Log Out
functions as exit from Monechron. Click
on it when you're done and the day's business will be saved
automatically.
-
Help
provides links to User Manual, Tutorials, and FAQ about using Monechron,
where you can find answers to your questions.
-
Undo
reverses the action you've just taken. For example, if you
accidentally deleted a transaction or a category, click on Undo,
select the item, and click on Restore. If you've skipped a
reminder or voided a check and then changed your mind, follow
the same steps. Also, click on Undo and then on
Inactive Accounts to make a hidden account reappear on the
screen.
 Previous Top
  Next
Next 
|
